Please note that the input parameters of the 'Try It Out' component may differ from those of the actual endpoint.
Unleash the Power of User-Controlled Wallets with Web3 Services Console
Introduction
Dive into the Future of Blockchain-Enabled Experiences Today!
Are you ready to revolutionize the way users interact with crypto? Look no further than the Web3 Services Console, your gateway to unlocking the full potential of blockchain technology. Get started now and discover the incredible possibilities of User Controlled Wallets!
Why Create an Account in the Web3 Services Console?
Unlock Innovative Functionality
Embed our wallets into your existing UI to enhance your app's offerings by giving users easy access to USDC, NFTs, and other blockchain-powered technologies.
Empower Users
By setting a unique PIN code, your app's users gain complete sovereignty over their wallets, ensuring their assets are secure and tamper-proof.
Innovative UX
User-controlled smart contract wallets abstract away common user experience challenges, such as private key management and gas fees, by leveraging MPC technology and account abstraction.
Streamline Development
Save time and effort by leveraging our familiar REST APIs and iOS and Android sample apps. Build and deploy users' wallets and send transactions with ease.
Before we dive in, there's a special feature we'd like to introduce that can significantly enhance your learning and experimenting experience: our "Try It Out" components.
What are "Try it out" components?
Our "Try It Out" components provide you with an interactive environment where you can directly test API requests in the simplest way possible, without the need for additional tools or platforms.
How does it work?
As you navigate through the tutorial, you'll notice certain steps come with a "Try It Out" option. All you need to do is input the necessary details into the provided fields and send the request. You'll receive instant feedback and can see how the request would function in a real-world setting.
Your data and your security
Your data's security is our utmost priority. When using our "Try It Out" components, data is only stored within the context of the current page. This means a simple page refresh clears all input information and removes it. It's therefore a secure, risk-free environment for you to play around in.
However, if you still have concerns about security or simply don't wish for certain details to be used in any manner, you're not obliged to use this feature. It's an additional offering and in no way mandatory.
Upon completing this tutorial, you also have the option to delete your API key should you choose to do so.
Excited to get started?
Sign up with your email address and unlock instant access to the Web3 Services Console today! Say goodbye to upfront fees and contract negotiations, as we offer a flexible pay-as-you-go pricing model that starts at pennies per wallet and scales as your user base expands. Embark on an incredible journey towards decentralized experiences now!
Create a Web3 Services account - Start Building the Future!
Step 1: Setting Up Your Testnet API key
Ready to begin?
A Circle Web3 Services API Key identifies who submits API requests. Circle uses the API Key to authenticate your requests, so only you can interact with Circle using your key. To create an API Key, you first need a Circle Web3 Services account. If you didn't create one yet, use the following link to sign up with your email address. The account is free to use for testing.
Understanding Testnet versus Mainnet Environments
Before you proceed, it's critical to differentiate two fundamental environments in blockchain development: Testnet and Mainnet.

Testnet is akin to a training ground for developers. It's a simulated environment where you can develop, test, and polish your applications with confidence. In this space, you can execute transactions and test various scenarios without any financial implications, as Testnet does not involve real cryptocurrencies or assets.

In contrast, Mainnet is where everything goes live. This network handles actual transactions with genuine digital currencies. Operating on Mainnet means dealing with real-world consequences and genuine assets. The results of actions performed here are immediate and impactful.
While it may seem exciting to leap directly into Mainnet, it is crucial to rigorously test and validate your applications within the Testnet environment first. This precaution ensures that all systems and functionalities operate correctly before you transition to a live environment where stakes are higher. Once you have a thoroughly vetted application in Testnet, you can smoothly migrate to Mainnet operations.
Creating your API key
To proceed with this guide, create a standard API key. Here's how to generate it:
- 1
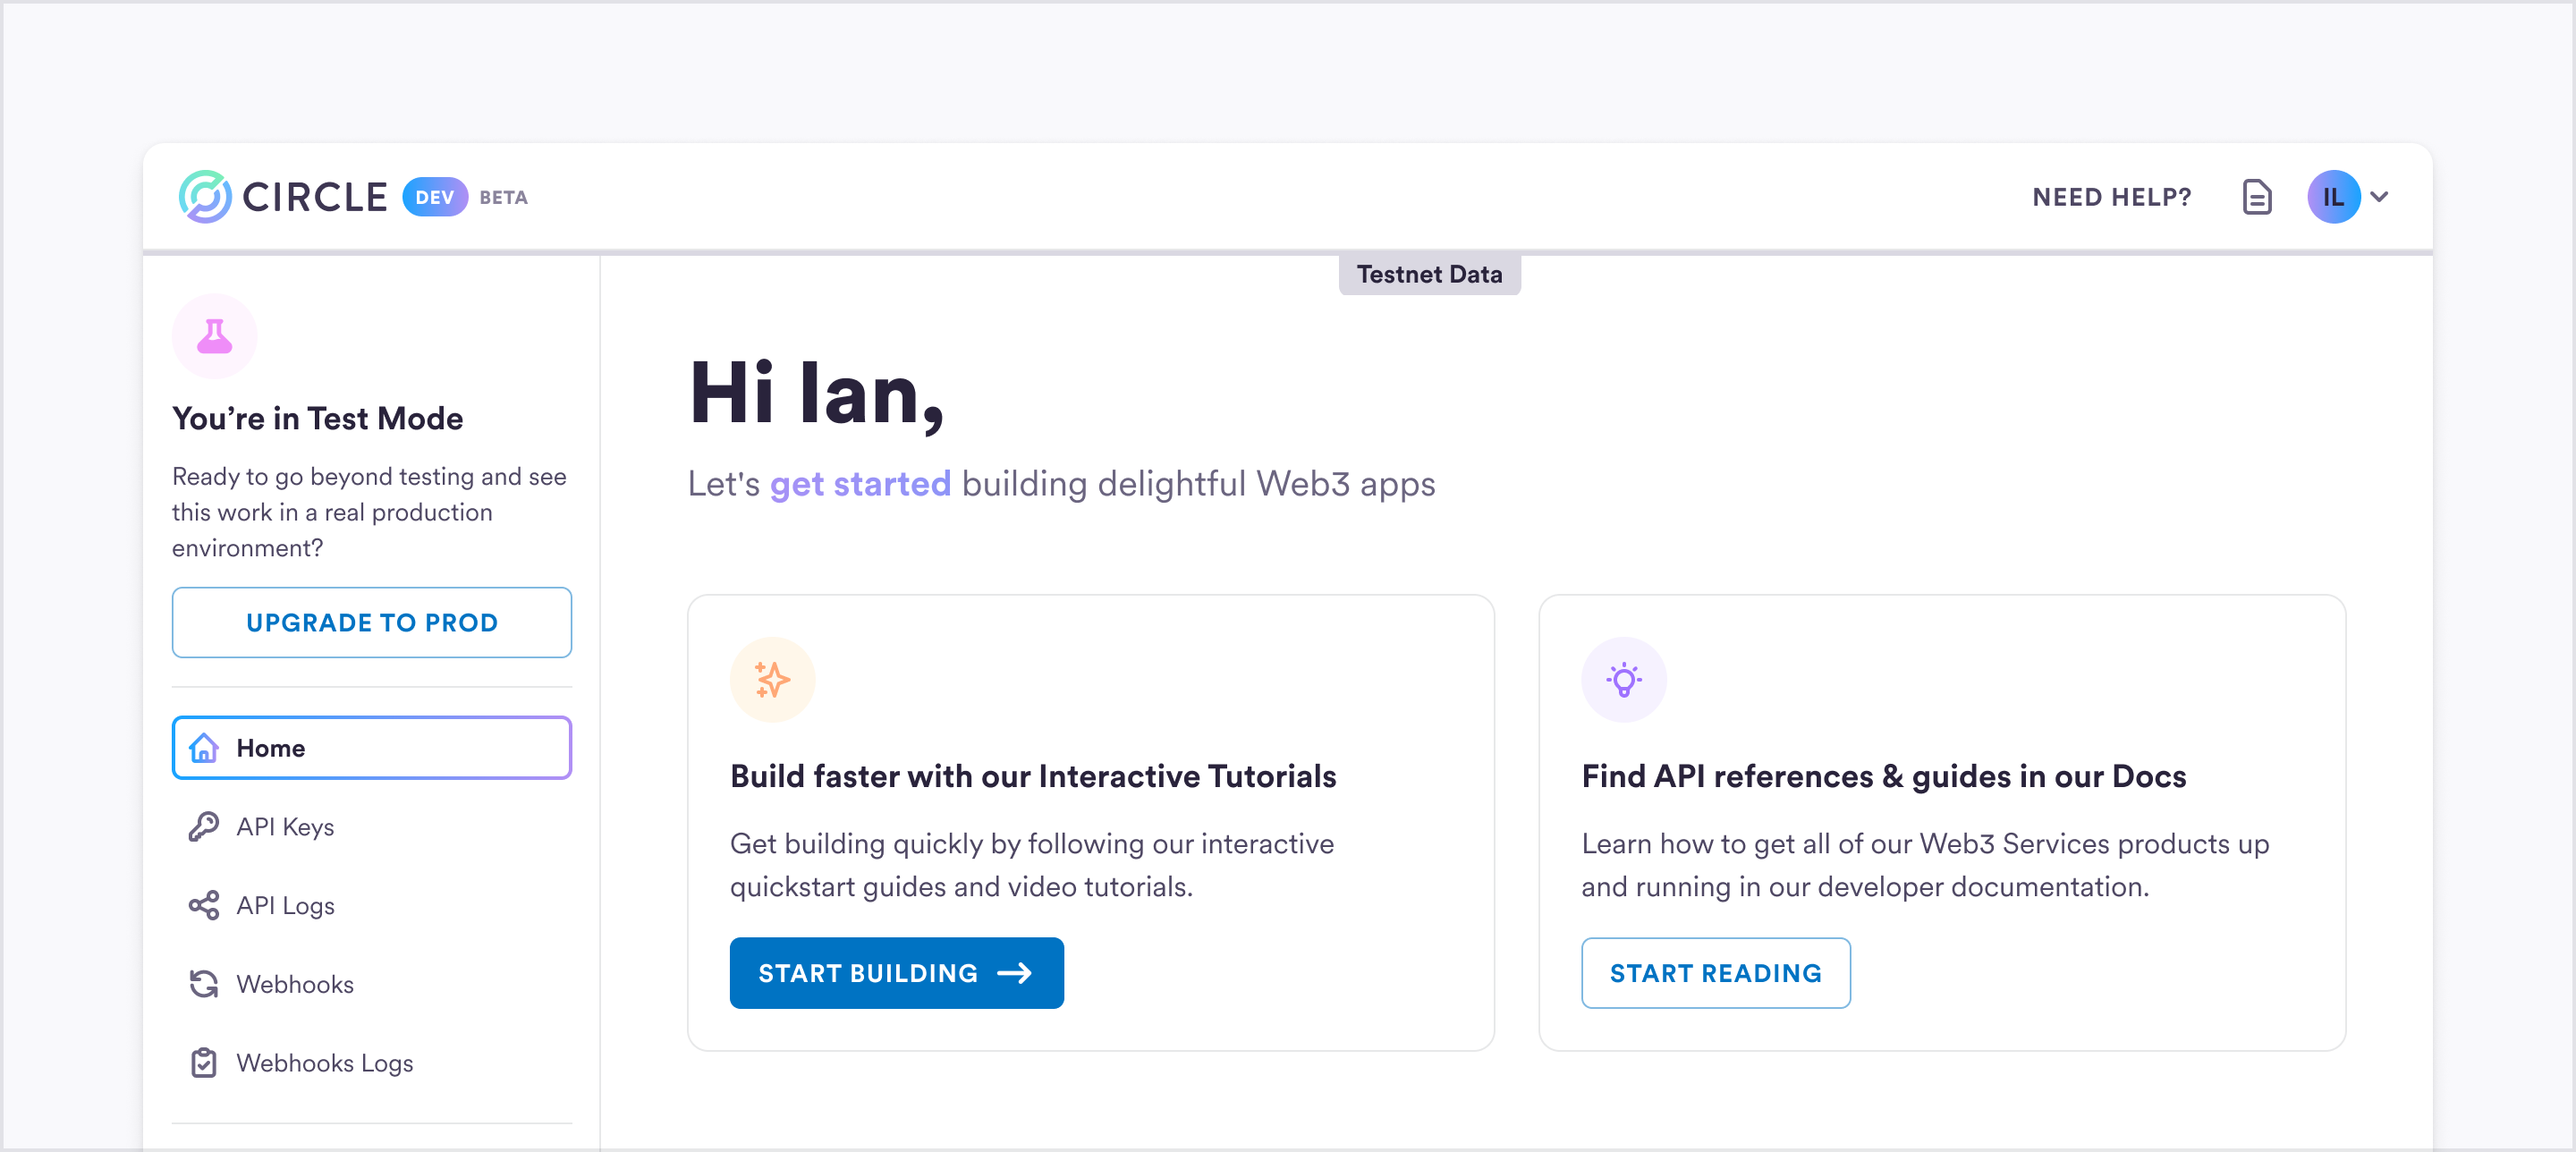
Log in to the console
First, log in to the Circle Web3 Services console.
- 2
Open the API keys page
After you log in, open the API Keys page, and then click CREATE A KEY.
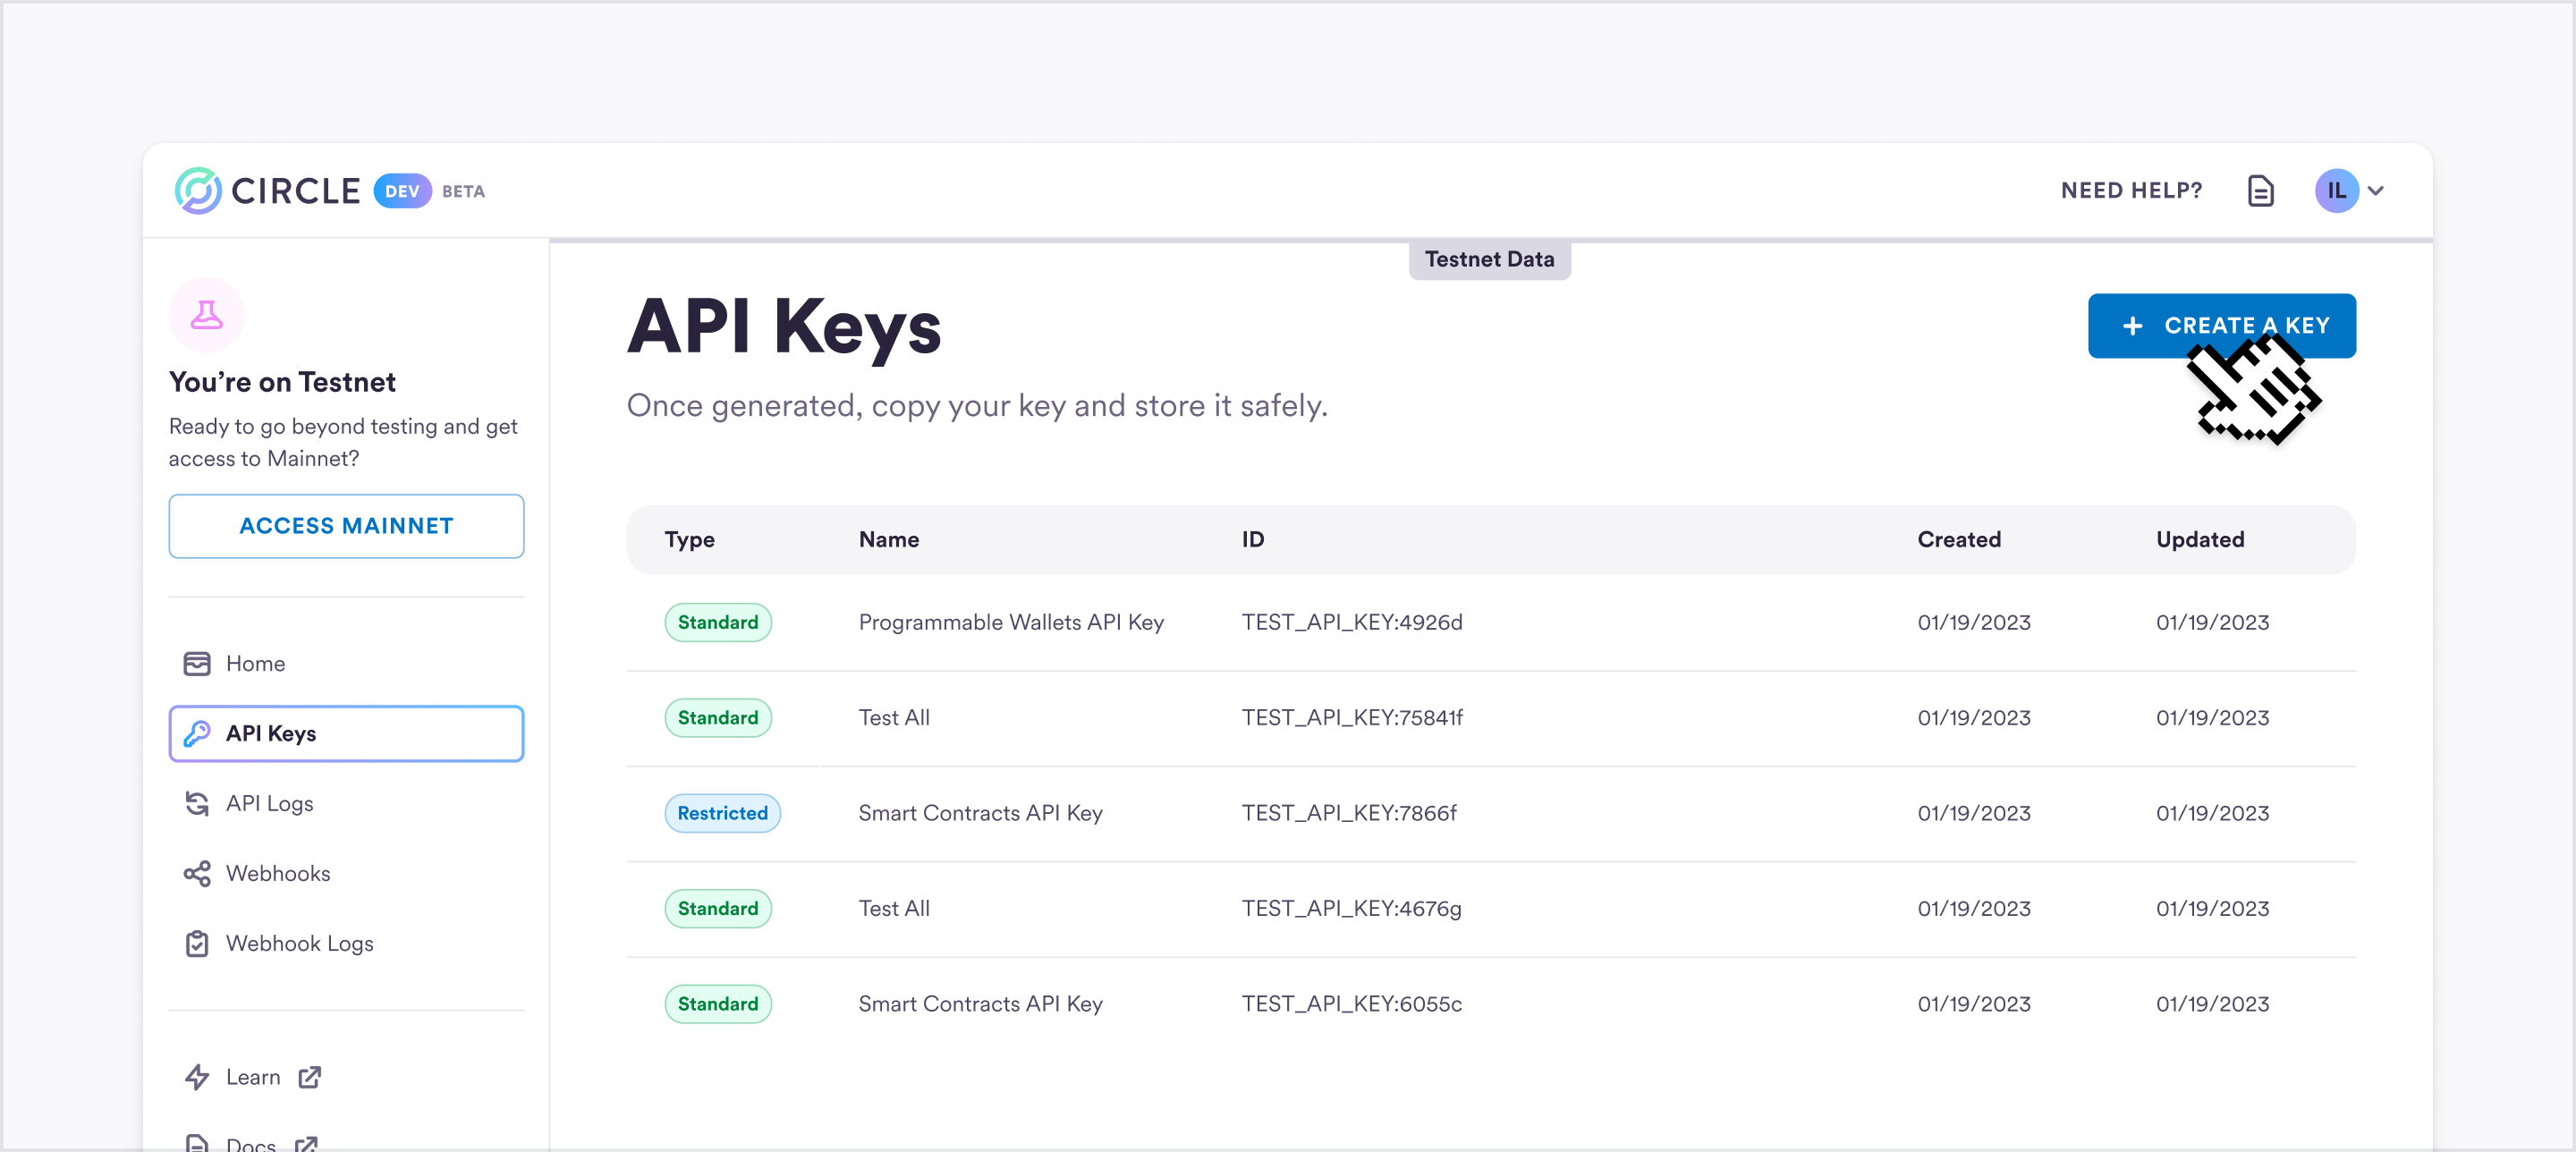
- 3
Set Up your new API key
Provide a Key Name for your new API key, and then select Standard Key.

- 4
Copy and Store safely
The console displays your key only once after you create it. Make sure to copy the key value and store it in a secure location. You can't retrieve the key value after you close the dialog. If you lose the value, you need to create another key. Never share your key with anyone.

The power of Testnet
Now that you have a Testnet API Key, you can:
Test With Assurance
Engage in robust testing of your applications, smart contracts, and other blockchain innovations, all within a safe environment that simulates real-world operations. This sandbox allows for trial and error without any financial stakes, so mistakes carry no monetary risk.
Achieve Broad Compatibility
Testnet serves as a preparatory platform for launches on various blockchains. Whether your focus is on Ethereum, Polygon, or Avalanche, Testnet provides insights into how your applications will perform across different ecosystems.
Encourage Innovation
The Testnet environment is the perfect place to brainstorm and develop new blockchain solutions. Here, you have the license to push boundaries and explore various possibilities without financial constraints.
Iterate Swiftly
Benefit from the ability to quickly refine your projects based on immediate feedback and test insights. The adaptable nature of Testnet supports rapid prototyping and swift iteration, which can lead to faster advancements and better outcomes in your development cycle.
Step 2: Get Ready for User-Controlled Wallets
What we want to achieve
In this section, we create and initalize a new user and then act as that user to initiate a transaction. For both steps we need specific parameters. These parameters are required to initialize a user session and later confirm the transaction. They also serve determine how your app functions.
Here is a quick overview:
| Term | Definition |
|---|---|
| App ID | The App ID is your application's unique identifier. It serves as a distinct label that sets your application apart from others. |
| Encryption Key and User Token | They are created when you initiate a user session. The user token is the session identifier, and the encryption key is an encryption and decryption key that is randomly generated to ensure the security of the session. |
| Challenge ID | The Challenge ID acts as an identifier that corresponds to a specific challenge. A challenge prompts your users to take specific actions, such as confirming transactions or executing smart contracts. |
In the next few steps, we explain what these parameters are and how to acquire them!
Getting your App ID
First up is the App ID. Your App ID serves as a key component that allows you to configure and tailor your User-Controlled Wallet integration.
You can make a request to the following API endpoint to obtain your App ID:
Get App ID
🎉 Great job, we have now acquired the first parameter we need. Let's head over to the next page to get the other parameters!
Step 3: Establishing a User Identity and Acquiring a Session Token
Behind the scenes, you (as a developer) have to go through a few essential steps to set up and initialize a user. In a theoretical sense, we will explore these steps next: creating your first user and initializing their wallets. These steps include creating a user, creating a session token, and initializing the user account, where you will also create a wallet for the user via Circle's APIs. At the end of these steps, you can then prompt your end-user to complete the account setup in your sample app.
Once you've absorbed the theory behind these steps, you'll find a Try It Out component at the end. This tool handles all of these steps for you, making your experience with the QuickStart guide smoother and more user-friendly.
Let's delve into the process!
- 1
Create a new user
To begin the end-to-end process, you must create and initialize the users who will ultimately be using your application. A user, representing the end-user of your app, is identified through a userID. This
userIDserves as the account identifier encompassing all associated wallets, assets, and transactions for that specific user.
You can use a UUID format for theuserIDor any other format. It must be at least five characters long.Code - 2
Acquire a Session Token
Once you have successfully created a user, you will acquire a session token which authenticates the user's session within your app and has a validity period of 60 minutes.
Typically, in your app's flow, you would create a session token when the user logs in. Once you have created a session, we will return an encryptionKey and a userToken. The userToken is the session identifier, and the encryptionKey is an encryption and decryption key that is randomly generated to ensure the security of the session.Code - 3
Initialize the User Account
User initialization is a critical step where you create the user account and create a wallet for a specified blockchain at the time of account creation.
Two fundamental concepts to understand in this step are:
Idempotent Requests
When making an initialization request, it is required that you use an idempotency key, a unique identifier for the request, to ensure that subsequent requests with the same key do not create duplicate entities. You can learn more about it in our documentation.
Challenges
A challenge is initiated when your end-users are prompted to take a specific action, such as initiating a transaction or executing a smart contract. They serve as checkpoints in the user journey, ensuring that sensitive operations can only be carried out with the user's explicit authorization.
The first challenge that users encounter involves setting their PIN code and creating a recovery method as part of this initial sign up. The PIN is encrypted during input on the user's personal device, ensuring developers or merchants never have access to user PINs. The recovery method allows users to regain access to their assets in case they forget their PIN code. They have the option to choose security questions, a familiar backup mechanism that enhances the user experience while ensuring that users have full control over their assets.
Benefits of Challenges: Empowering Users and Enhancing Security
User Sovereignty and Asset Security
By setting up a PIN code, users have complete sovereignty over their wallets. Only operations that are authorized by entering the PIN code can be initiated, providing users with peace of mind and control over their assets.
Enhanced User Experience without Seed Phrase
By utilizing a unique PIN code and Recovery Method, users can conveniently and securely access their wallets without being burdened by complex seed phrases.
Now that we understand these two important concepts, we are ready to initialise the user account and create a wallet.
Code
This Try It Out component will aggregate the explained steps above and return a challengeId, the userToken and the encryptionKey. We will use in the next few steps within the sample app to set up the user.
Initialize User
By following these steps, you have now created a user, establishing their unique identifiers. We have also initiated our first challenge by initializing their accounts and wallets, acquiring a session token and creating a challenge.
You can now enter these values into your sample app simulator and you will have completed the configuration.
In the next step, we will play the role of your end-user, and complete the account setup by defining a pin and recovery methods.
Complete Account Setup
After we gathered all necessary parameters, we are now able to use our WebSDK to enter this information and start the set up process that the end user would go through.
Try it out:Initialize User
🎉 Great job on setting up the WebSDK!
After the sucessful confirmation a wallet was created, you may now proceed with the next step and learn how to check the wallet status!
Step 4: Check the Wallet Status
Now that the end-user has successfully set up their PIN and defined their recovery method, we can proceed to check whether the wallet was successfully created. The check returns the following details about the wallet:
| Term | Definition |
|---|---|
| Address | The end-users wallet address is a unique identifier generated during wallet creation. It is used for sending, receiving, and storing digital assets on a blockchain network. It serves as the destination for cryptocurrency transactions, verifying ownership of the specific digital wallet. |
| Blockchain | Specifies the testnet blockchain (network) you created the wallet for. |
| Create Date | A timestamp that indicates the time at which the wallet was created. |
| CustodyType | CustodyType refers to whether the end user or the developer controls the private key invocation. In the case of user-controlled wallets, the custody type is user-controlled, granting the end-user full control over their private keys. |
| ID | The unique ID assigned to the wallet. |
| State | The State reflects the current status of the wallet and can be either "live" or "frozen". |
| WalletSetId | The WalletSetId indicates the ID of the wallet set. A wallet set represents a collection of wallets managed by a single cryptographic private key. It offers a unified management experience, particularly in the context of supported blockchains. Wallets from different chains can share the same address within a wallet set, especially on EVM chains. |
Understanding these returned values will enable you to verify the successful creation of the end-user's wallet and act accordingly within your application.
| Term | Definition |
|---|---|
| UserId | User token of the user that owns the wallet to check the status of. |
Check Wallet Status
🎉 Congratulations on successfully crafting your wallet! This marks a significant milestone in your web3 journey. Now, let's explore the next step: populating your wallets with tokens. Since we're currently operating on Testnet, we'll be using Testnet tokens. To help you with this, we have the Try It Out Box below - a convenient solution to fund your freshly created wallets.
Fund your Wallet
If you have successfully set up your wallets you can now proceed to initiate your first transaction!
Step 5: Initiate your first transaction
Now that you've set up your wallet and obtained some Testnet tokens, let's dive into initiating your first transaction. It's simpler than you might think, especially with our streamlined approach.
Making transaction seamless
From a user experience standpoint, blockchain transactions have a unique challenge - gas fees. Gas fees are charges in blockchain networks that ensure transactions are processed efficiently and have to be paid with native assets, like Ether (ETH) on Ethereum. This requires your end-users to hold these native assets in their wallets to be able to transact. When using User-Controlled Wallets that are configured as smart contract wallets, you no longer require your end-users to hold native assets and pay gas fees, you can sponsor them, empowering you to provide your end-users with an improved transaction experience. This is made possible through the Gas Station, which acts as a middleman, allowing you to pay for your end-users gas fees.
During the testnet phase, the Gas Station is already set up to facilitate seamless testing and development. When transitioning to the Production phase through the Circle Developer console, you will gain even more control. You will be able to set spending limits and configure other aspects according to their specific needs. To learn more, see the Gas Station topic in Circle Developer Documentation.
Getting the tokenId
Before we can proceed, we need to determine the tokenId. It is the unique identifier for the specific token type you're transferring. You can do this by retrieving the token balances for your wallet. This step also allows you to check whether you received your Testnet tokens.
Get your wallet balance
Initiating a transaction
In the next step, we initiate a Testnet transaction, but keep in mind that as a developer, you cannot directly execute the transaction. Instead, we create a transaction that the end user can approve by entering their PIN. This process, known as a challenge, prompts the user to validate and authorize the transaction by entering their PIN within the mobile app.
To initiate this process, you need to obtain a session token. Using the session token, you can then proceed to initiate a transfer and receive a ChallengeID in return. The ChallengeID allows you to prompt the user to enter their PIN within the app, confirming their approval and ensuring secure transaction execution.
Additionally, blockchain transactions typically require a gas fees to complete. Gas fees are similar to bank fees, and help cover the cost of executing transactions on the blockchain network. These fees vary based on factors such as network congestion and transaction complexity. Circle provides an endpoint where you can estimate gas fees, and it returns three fee options: low, medium, and high. This way you can balance cost and transaction speed. You can find more details in the Estimate fee for a transfer transaction topic. For this example, we automatically set it to high.
| Term | Definition |
|---|---|
| idempotencyKey | A unique string that ensures your transaction isn 't processed more than once even if sent multiple times. A critical measure to prevent duplicates. |
| amounts | Specify the amount of tokens you're transferring. |
| destinationAddress | The wallet address where you're sending the tokens. |
| entitySecretCiphertext | A crucial security layer, this encrypted string ensures only authorized transactions go through. |
| tokenId | This is the id we just extract from your wallet balance. It is the unique identifier for the specific token type you're moving. This id is unique. |
| walletId | Indicates the source of the transaction, i.e., from which wallet you're sending the tokens. |
The preceding parameters are just the essentials for initiating a transaction. The endpoint offers a richer, more detailed configuration to cater to a variety of transaction types and needs. For a comprehensive understanding and to leverage advanced features, we recommend referring to the official documentation.
Initiate your transaction
After we gathered all necessary parameters, we are now able to use our WebSDK to enter this information and start the set up process that the end user would go through.
Try it out:Confirm transaction
🎉 Awesome, we now have successfully confirmed a transaction. Let's learn on the next page how to check if the transaction was successful!
Step 6: Validating your transaction
After initiating a transaction through our API, you'll be able to look up the transaction hash in our Web3 Services Console. It's a unique identifier for your transaction. View transactions
You can validate transaction in multiple ways:
- Web3 Services Console: This is the preferred method. It enables you to inspect the transaction state directly.
- Blockchain Explorer: By using the transaction hash or wallet id, you can view the transaction state on a blockchain explorer.
Validating via the Web3 Services Console
- 1
Log in to the Console
Make sure you're logged in to the Web3 Services Console.
- 2
Navigate to List of Transactions
Open the User Controlled Wallets Transactions page.
You can see the state of your transaction directly in the table.

- 3
Open Transaction Details
For additional details about your transaction, click on the transaction in the table.
Validating via a blockchain explorer
- 1
Choose a Blockchain Explorer
Depending on the blockchain your token resides on, select a suitable explorer.
- Ethereum: Etherscan
- Polygon: Polygonscan
- Avalanche: Snowtrace
- 2
Input your Transaction Hash or Wallet Id
On the explorer's main page, there's a search bar. Paste your transaction hash or wallet ID there and search. You can find the transactionHash or the wallet ID in your list of transactions.
- 3
Review Details
Whether you provide a wallet ID or transaction hash, the console displays details about your wallet and any associated transactions. This includes details about each transaction, such as the number of confirmations and the gas used, so you can verify that the transaction occurred as expected.

Step 7: Congratulations on Your Progress!
First and foremost, thank you for embarking on this journey with us.
Throughout this process, you've successfully:
You successfully created a user and set up smart contract wallets for them.
You experienced the end-users’ flow for setting up their wallet in the WebSDK, guiding them through defining their pin and recovery method.
You have automatically received funds from our faucet into your end-users’ wallet and gained understanding on how to check their wallet balance.
You initiated a gasless transaction using a Gas Station and went through the flow of how the end-user can confirm the transaction with their pin using the WebSDK.
Level Up Your Development with the Web Sample App
To continue your development journey, you can explore our Server-side SDKs, the Test Server or utilize the Postman collection along with the WebSDK sample app, unlocking even more possibilities for seamless integration and further customization. Keep up the great work!
Stay connected & Explore more
Your journey with us doesn't stop here. There's so much more to discover und dive into:
Explore our Expanding Web3 Ecosystem
As our ecosystem flourishes, we're continuously rolling out new tools and platforms. Don't miss out on exploring these complementary products that could significantly enhance your web3 projects.
Engage, Build, Share! Dive into our forums, share your feedback, and keep an eye out for exciting challenges and hackathons. Your unique perspective and skills are valuable, and we're eager to see the innovations you'll introduce to our growing ecosystem.
Your feedback matters
As you continue further on your journey, we'd love to hear from you. Your feedback shapes the future of our platform and helps us provide a better experience for all developers.
What did you love about the process? Was there something you wished was different? Every insight, no matter how small, matters to us.
Thank you for your trust, dedication, and enthusiasm. Here's to the next chapter in your web3 adventure and the marvelous innovations that come of it.
Happy Building! 🚀
© 2023-2024 Circle Technology Services, LLC. All rights reserved.